Time Intelligence in Data Modeling Part 3: Dynamic Calendar in Power Query

Time Intelligence in Data Modeling Part 2: Dynamic Calendar in Power Pivot and Power BI
1 februarja, 2021
Excel Bližnjice s tipko Alt
Excel Bližnjice s tipko ALT
6 marca, 2021

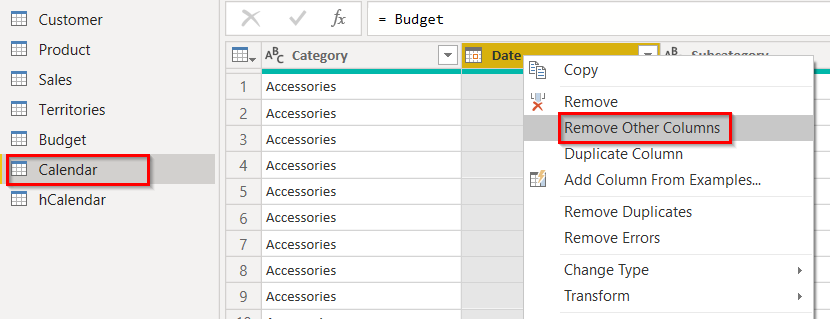
This time we will take full control over our Calendar table. We will look at data and decide which is relevant and which to leave out. We’ll then dynamically find the earliest and latest date in our model and create a calendar of dates between the two dates.

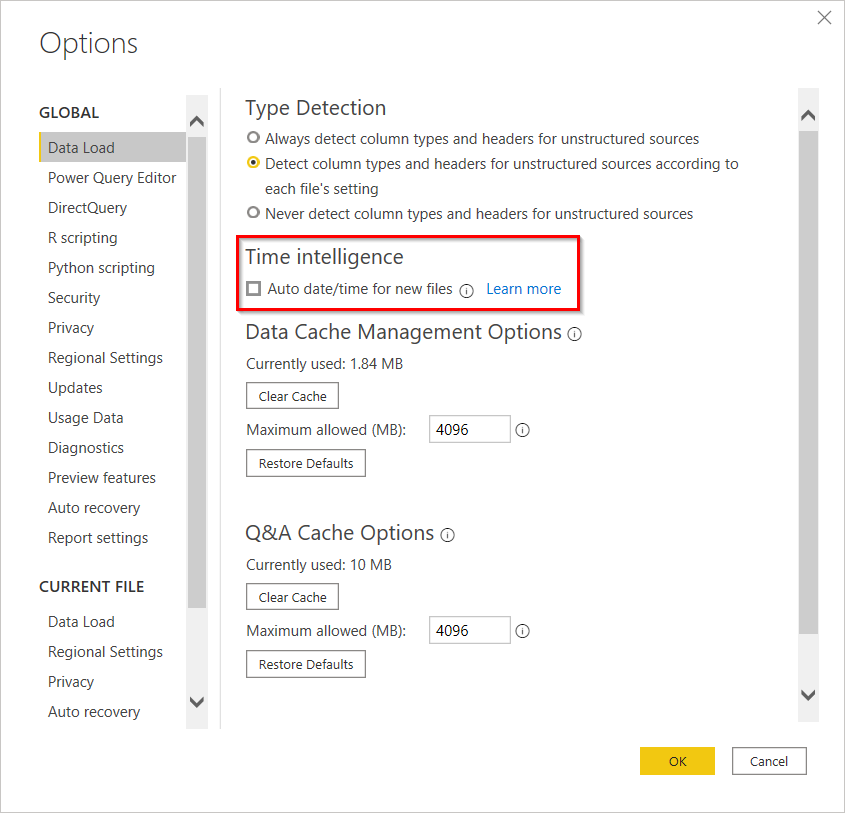
Turn Off Auto date/time for new files

The first thing we’ll do is turn off the Auto date/time for new files setting. This setting creates a hidden calendar table for every date column in your data model. Data will usually have multiple date columns like Deal Date, Pay Date, Birth Date etc. This would mean three separate hidden calendar tables that would slow your model down. We turn it off by selecting File > Options > Data Load > Auto date/time for new files and checking the tick off.

Remove Birth Dates

Spend some time looking at your data. Identify relevant and redundant date columns. Things like birth dates of employees are usually meaningless for business analysis. If not necessary, you don’t want them in your calendar table, as they could push the start date of your calendar decades before your actual business data starts. For example, it the company runs from 2000 and one employee birth date is 9/1/1970, this would add up 30 years of unnecessary rows to your calendar.

Append Date Columns

We are now left with few remaining date columns. In our case we have date columns in queries Sales and Budget.

We want to append the two columns. We make a reference of both queries with right click and Reference. We name new references Calendar and hCalendar.

We only keep the date column by right clicking and selecting Remove Other Columns.

We now append queries by selecting Calendar and Append Queries. Make sure columns in both queries have the same names before appending.

We append table hCalendar.

We append table hCalendar.

We now have all dates in Calendar query.

We turn off loading for hCalendar by right clicking and selecting Enable Load. We remove the tick mark. The name of the query will now be shown in italic.

Find MinDate and MaxDate

We need the earliest and latest date in our data model. Moreover, we want the first day of the year for the earliest year and the last day of the year for the latest year. For example, if earliest and latest date were 1/7/1990 and 9/1/2020, we would want our calendar to start with 1/1/1989 and end with 12/31/2020.

We first calculate the start of the year for our date column. We right click the column and select Transform > Year > StartOfYear.

We remove the duplicates with right click, Remove Duplicates.

We are left with unique dates.

We then duplicate the column with right click, Duplicate Column. We right click on the new column and select Transform > Year > EndOfYear. We now have beginning and end of all the years.

We change data type of both columns to number.

Dates in Power BI are actually numbers, representing the number of days passed since 1/1/1900. For example, if we were to change 1/5/1900 to a number we would get number 5. So, finding the earliest and latest date means finding the smallest and largest number.

We find the smallest number in first column with selecting Transform > Statistics > Minimum. We name this step MinDate in Applied Steps pane.

.

Likewise, we find the largest number. We duplicate the MinDate step and name it MaxDate. We change the formula to from Min to Max.

We now have both values stored in MinDate and MaxDate step. We will use them to create a list of values.

Create a List

Using MinDate and MaxDate we create a calendar. We add new step by clicking fx. In the formula bar we enter
{MinDate..MaxDate}.

Formula generates a list of all the numbers between the two values. We convert the list to a table by selecting To Table.

We change data type back to date. We have our calendar table with all the dates in our data model.